Authoring a Custom Roster or Draft Class
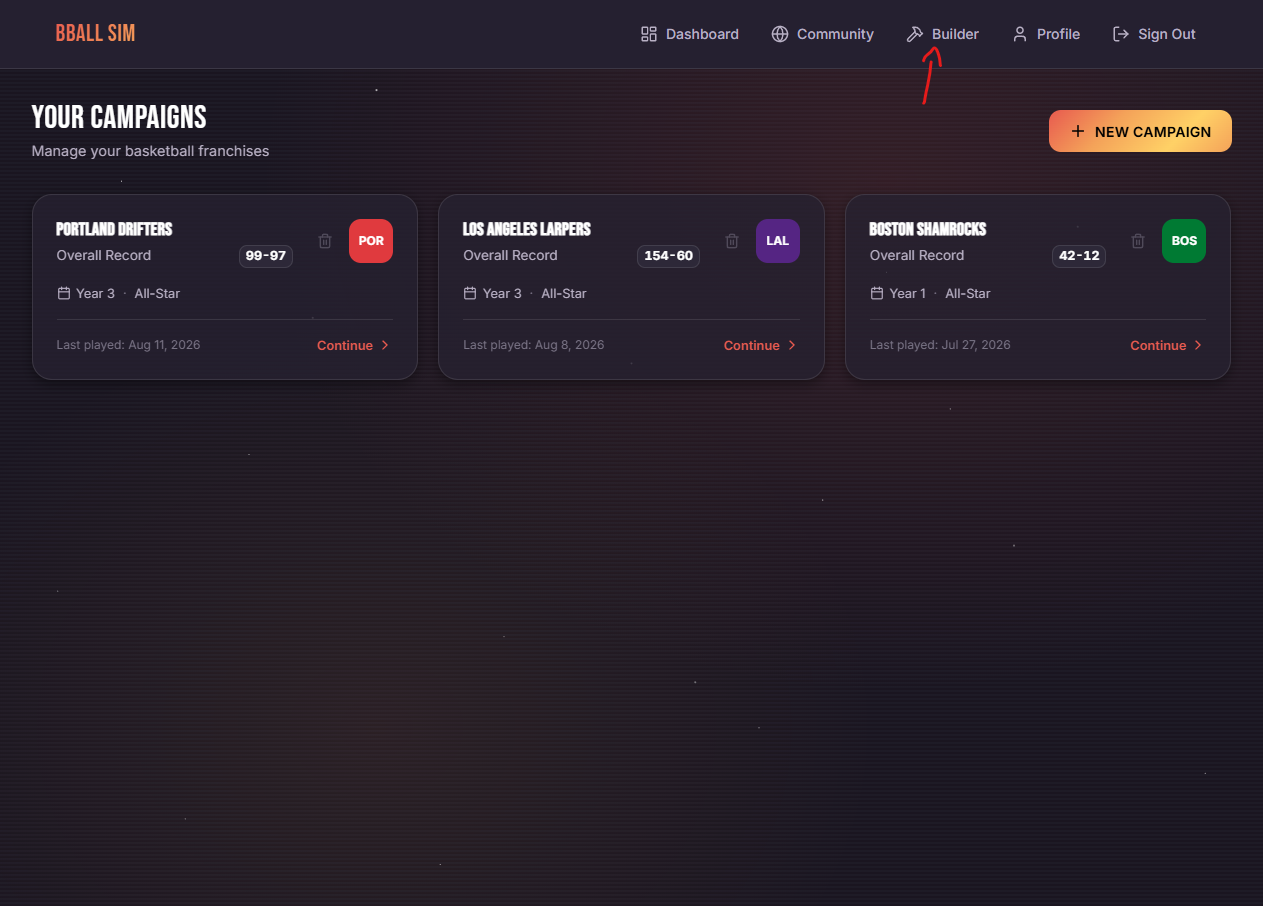
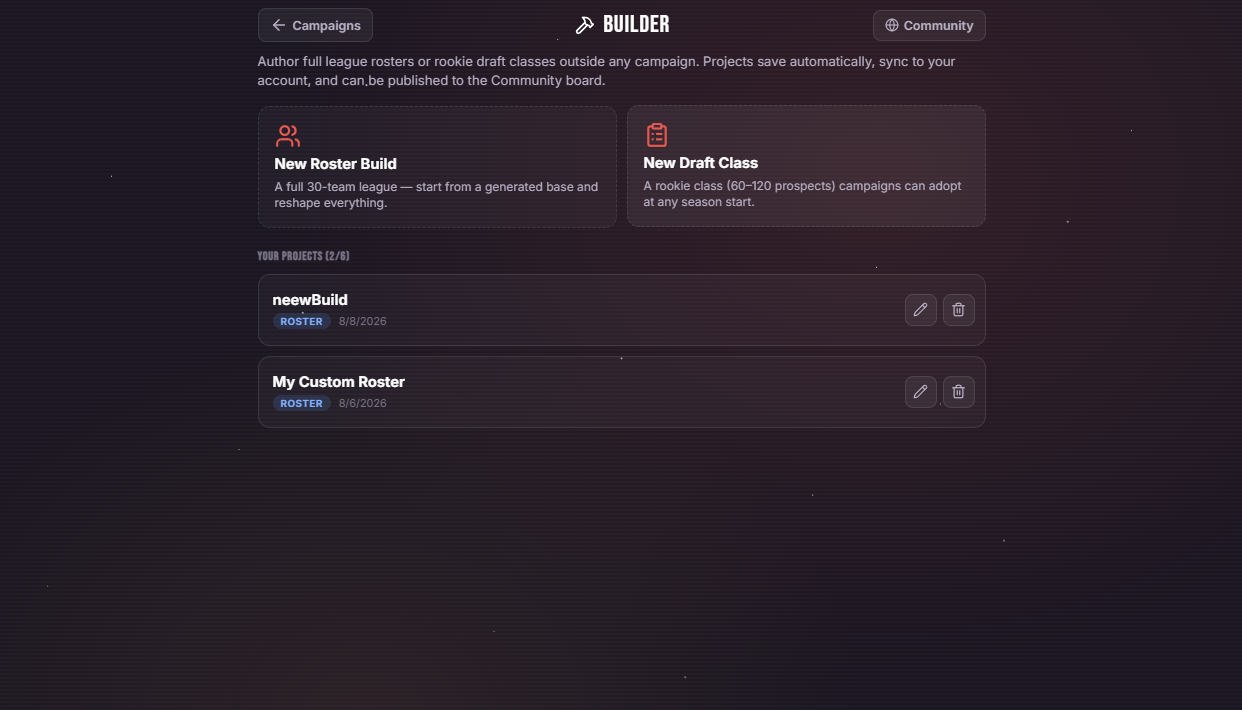
If you own the Roster Editor, locate the ‘Builder’ option in the top nav. Once on the builder page, select ‘New Roster Build’, or New Draft Class — any fully completed builds can be used in your campaigns (you can also edit any existing builds):
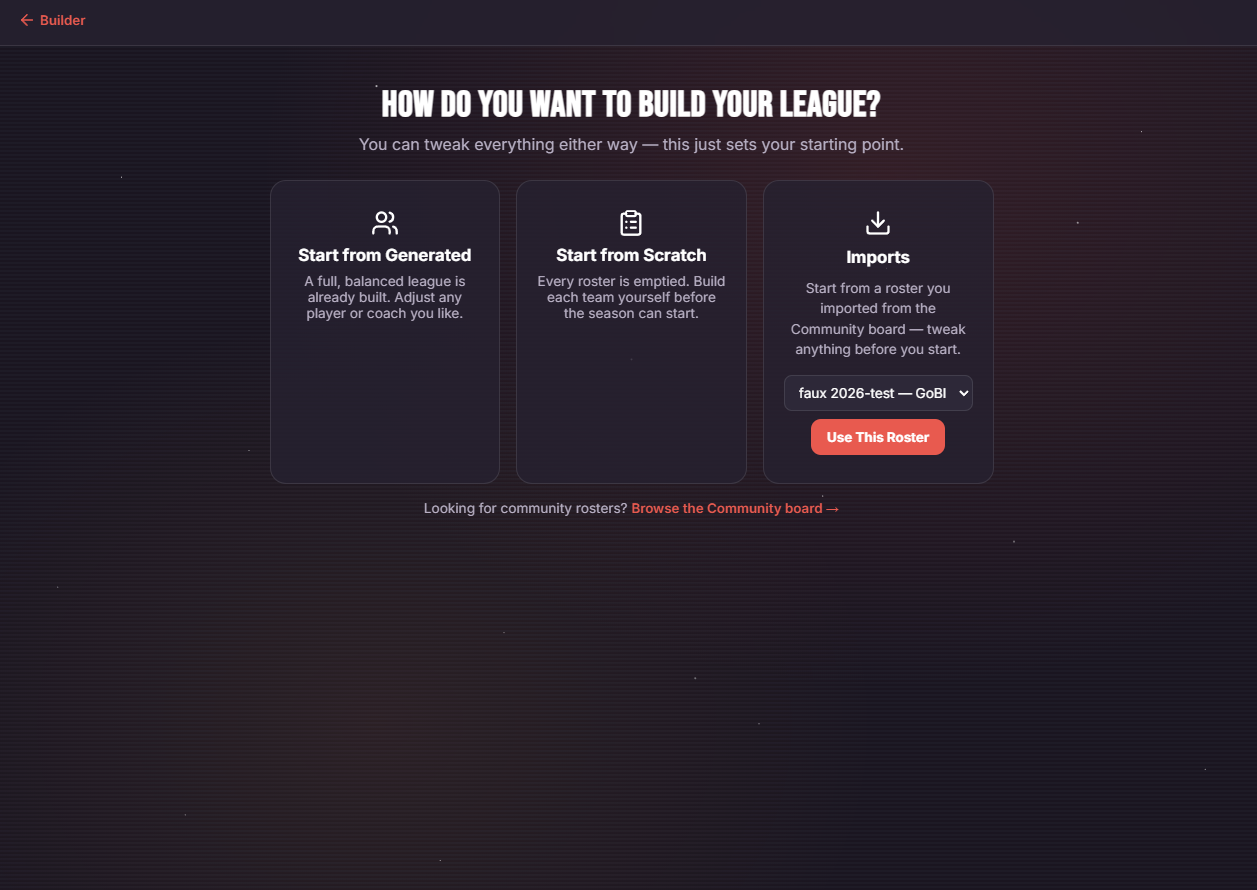
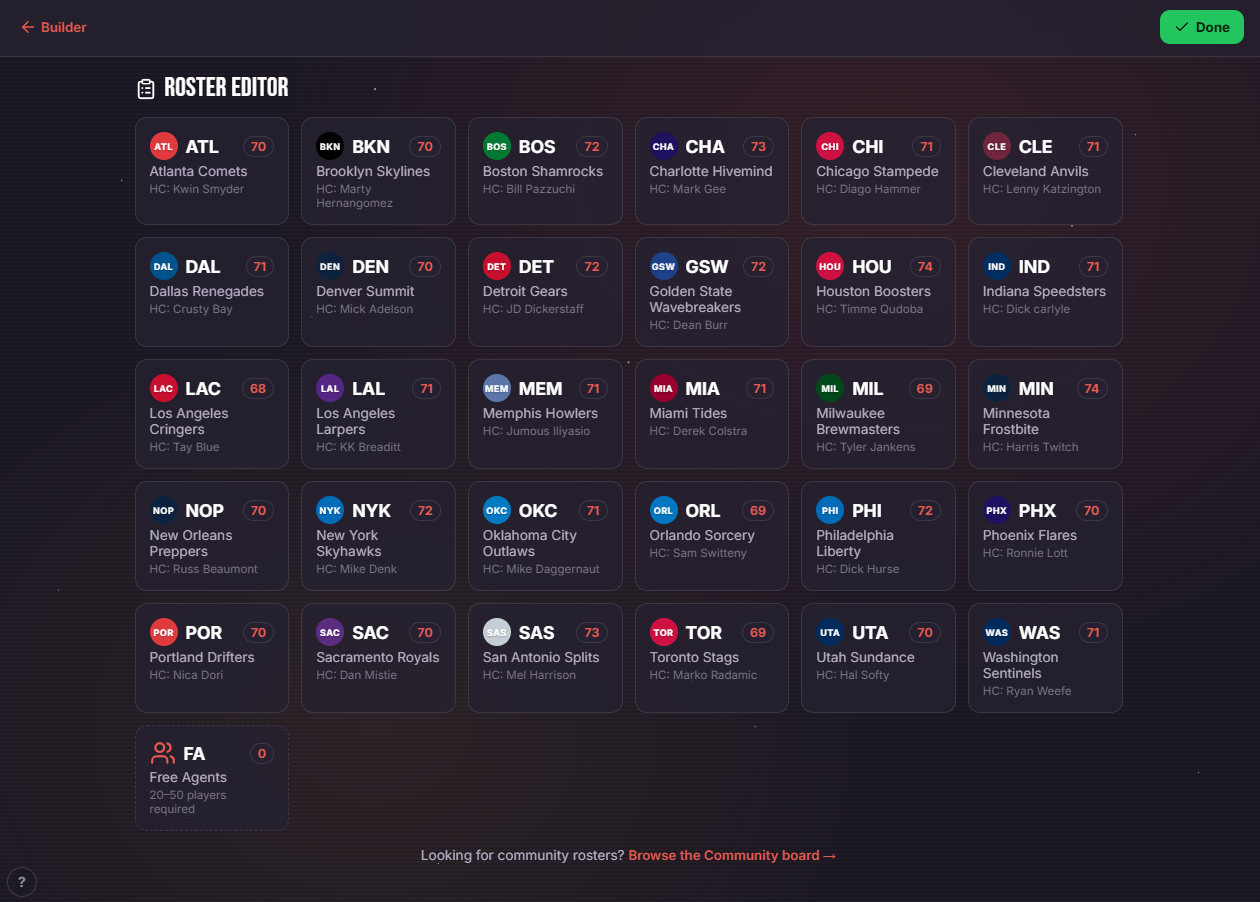
Give your new build a name, then select how you would like to create your league: start from scratch, a fully generated league or from any currently imported community roster (editing imported community rosters will not affect the original). After selecting your starting point, jump into any team to edit their details (skip to ‘Editing Player Details’ section if building a rookie class):
Editing Team Details
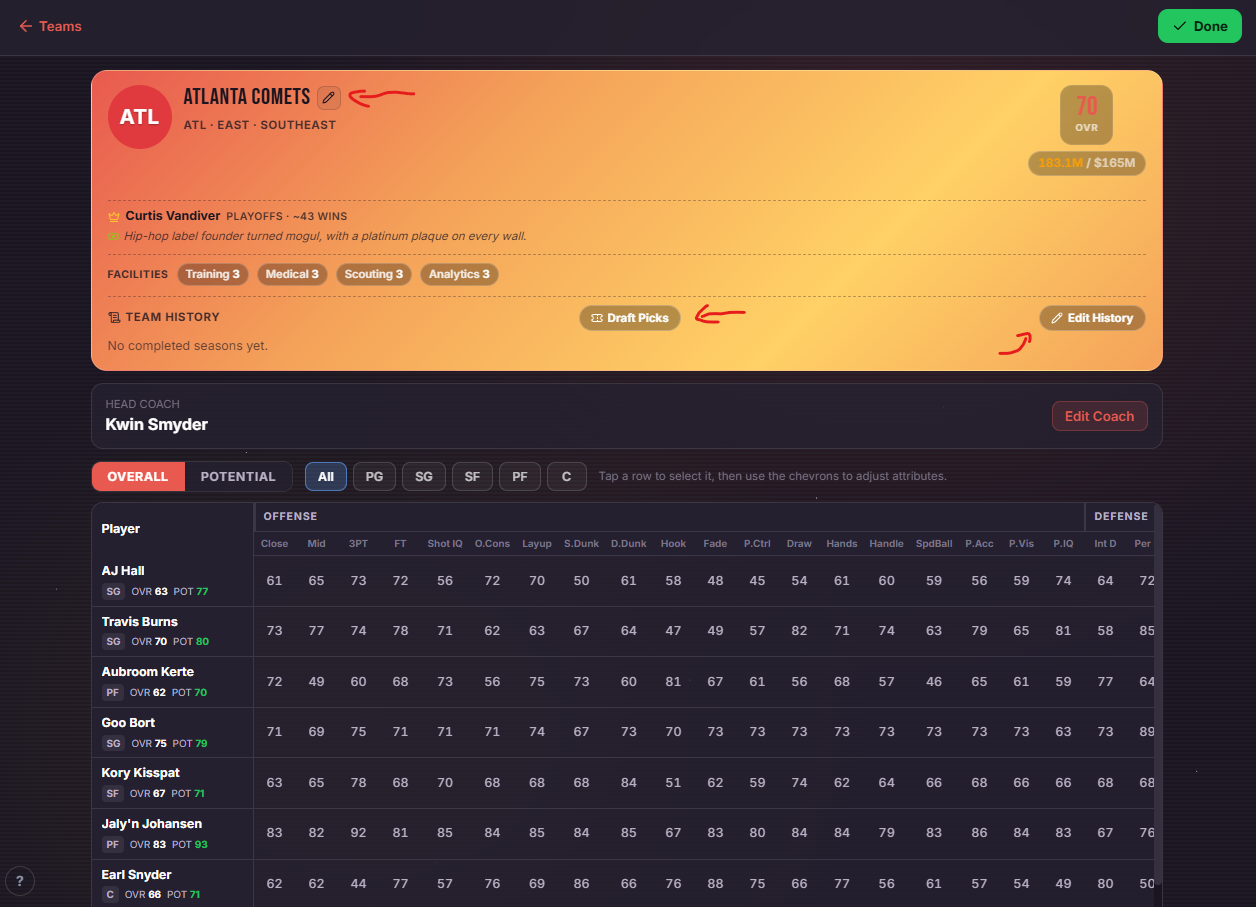
When inside of an individual team, the team name, team history as well as their draft picks are able to to be edited from the header
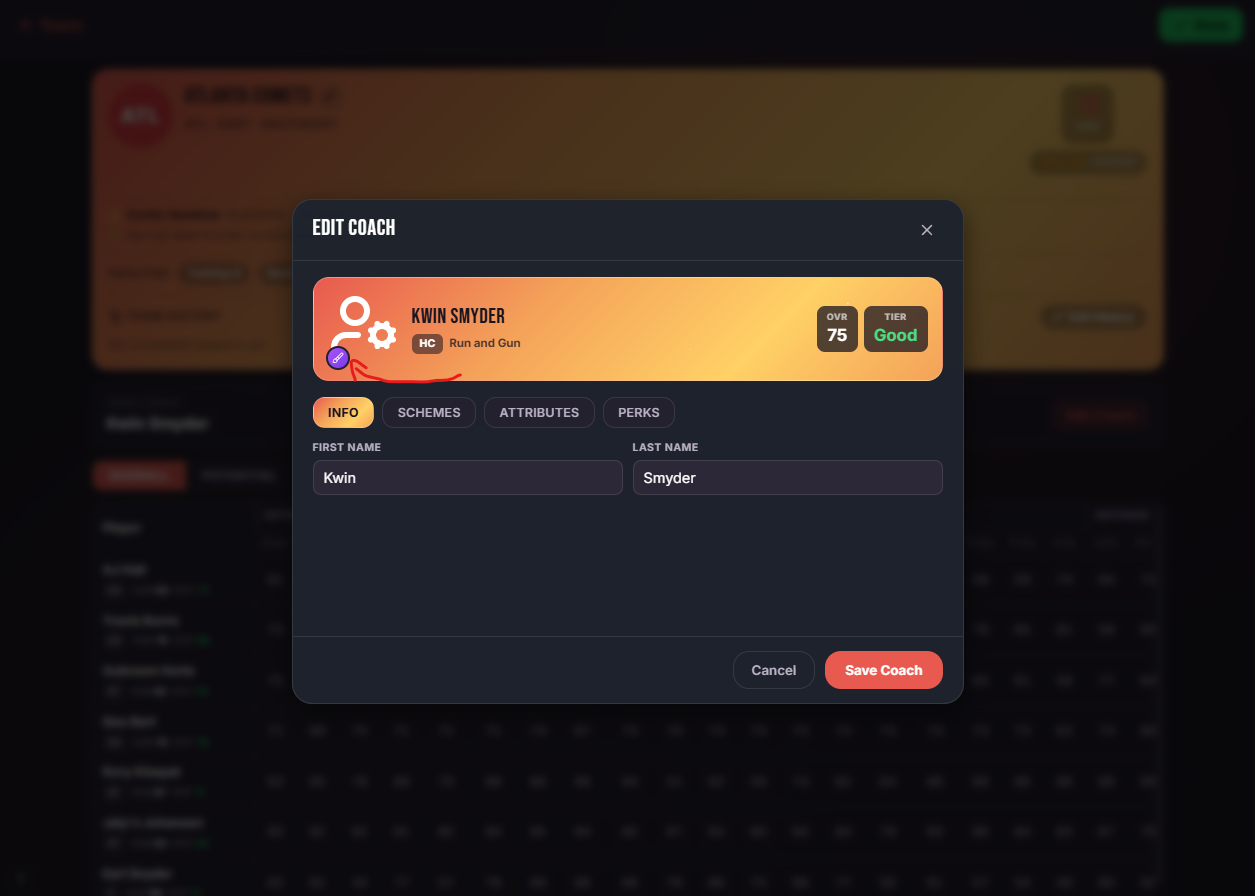
Click the ‘Edit Coach’ button to update the team’s coach — be aware that the coach’s ‘tier’ level will affect how much they will re-sign for during campaigns. If you own the Headshot Editor, you can also update the coach headshot:
Editing Player Details
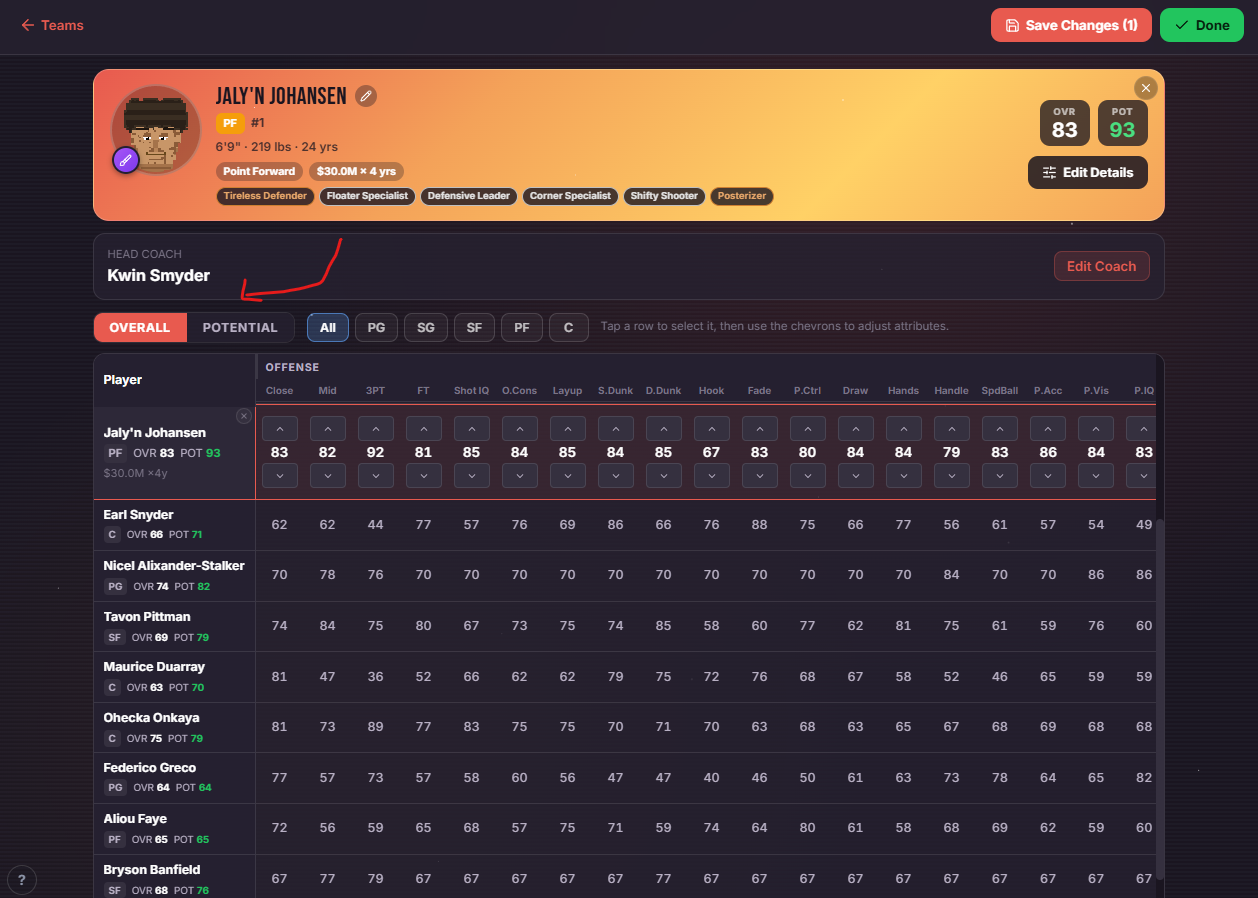
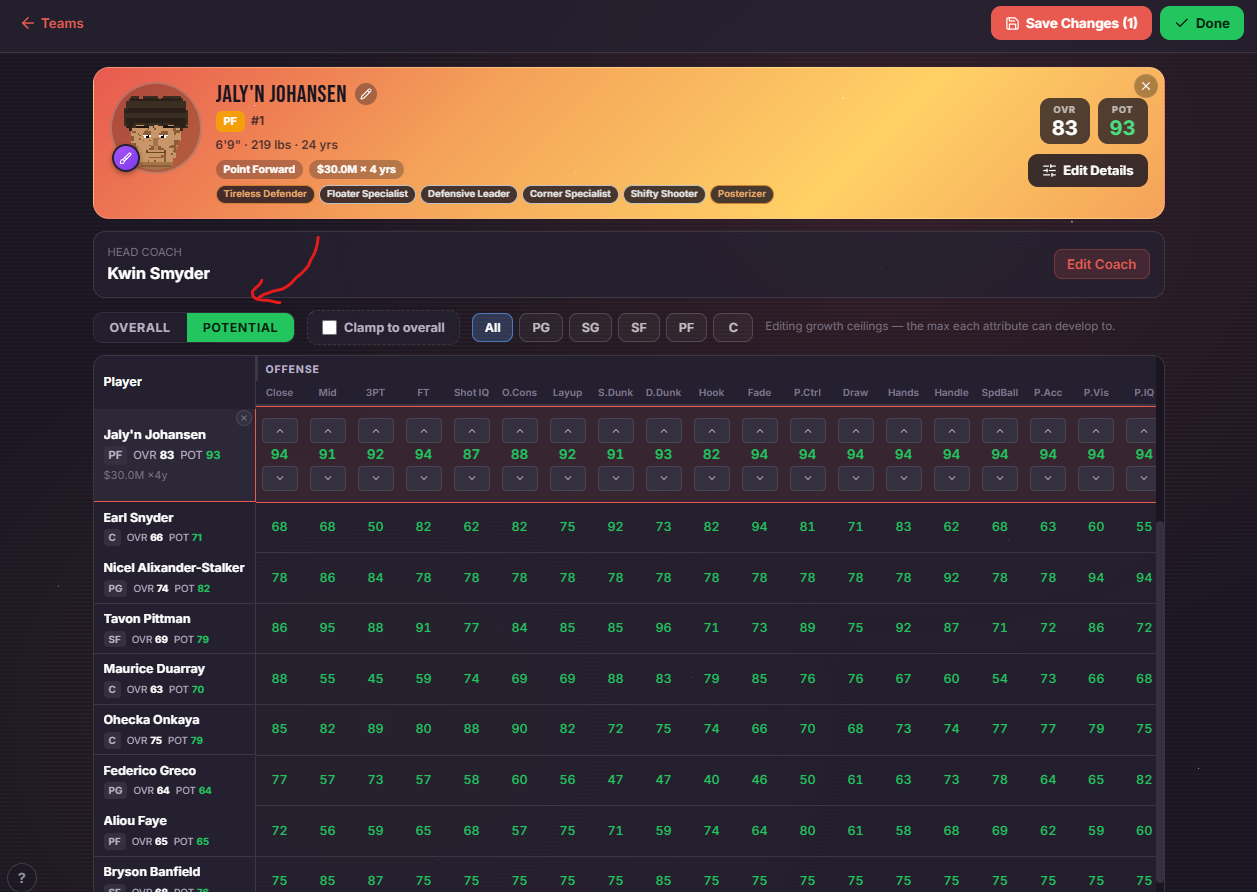
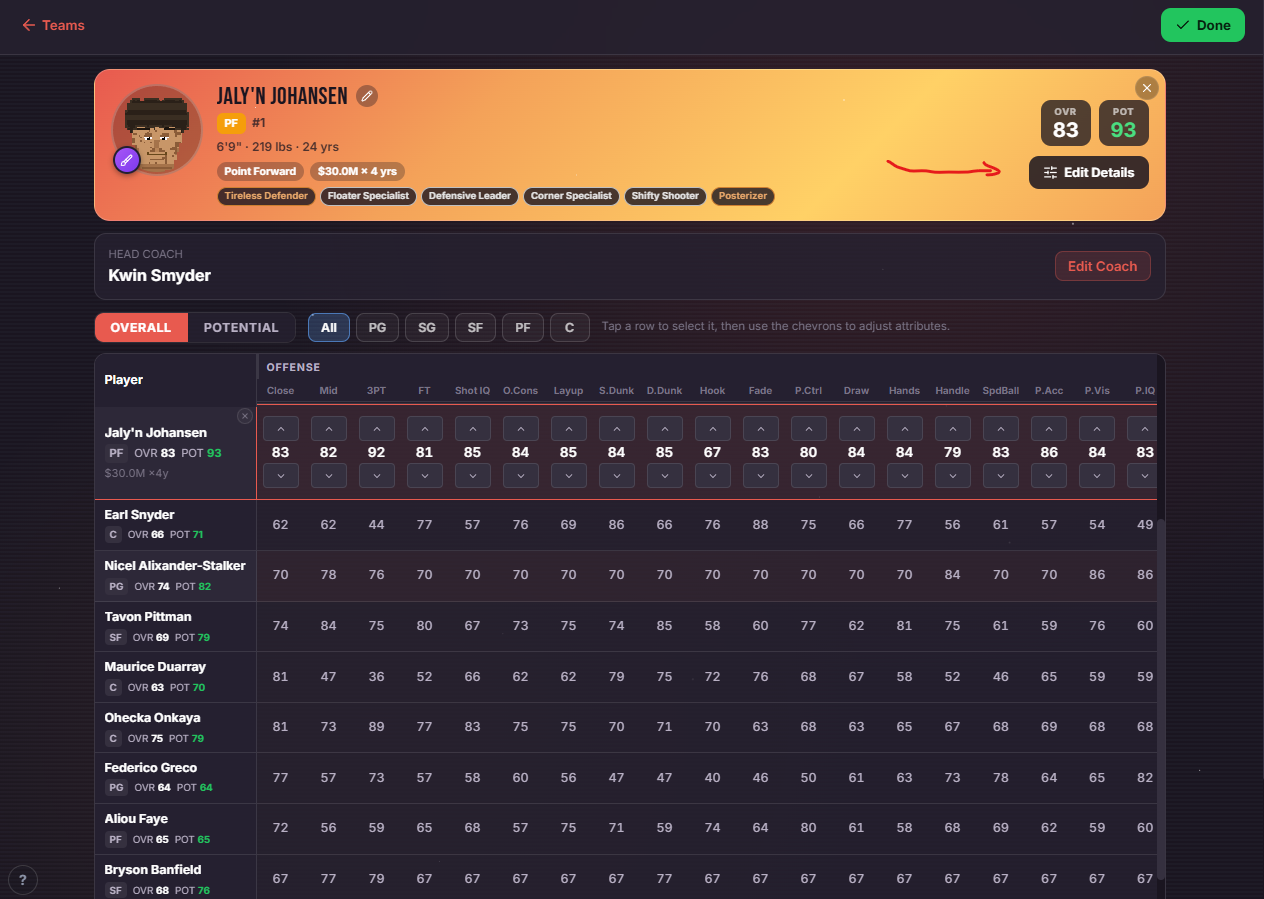
Editing player details is a simple process. Start by clicking on the player in the table to select their row. When the player’s row is selected, use the chevrons above/below each attribute to adjust the values. Toggle between the player’s current overall and future potential attributes to adjust ‘overall’ and ‘potential’ attributes independently. The ‘Clamp to Overall’ checkbox quickly sets all potential attributes to their current potential (useful for quickly creating veteran players):
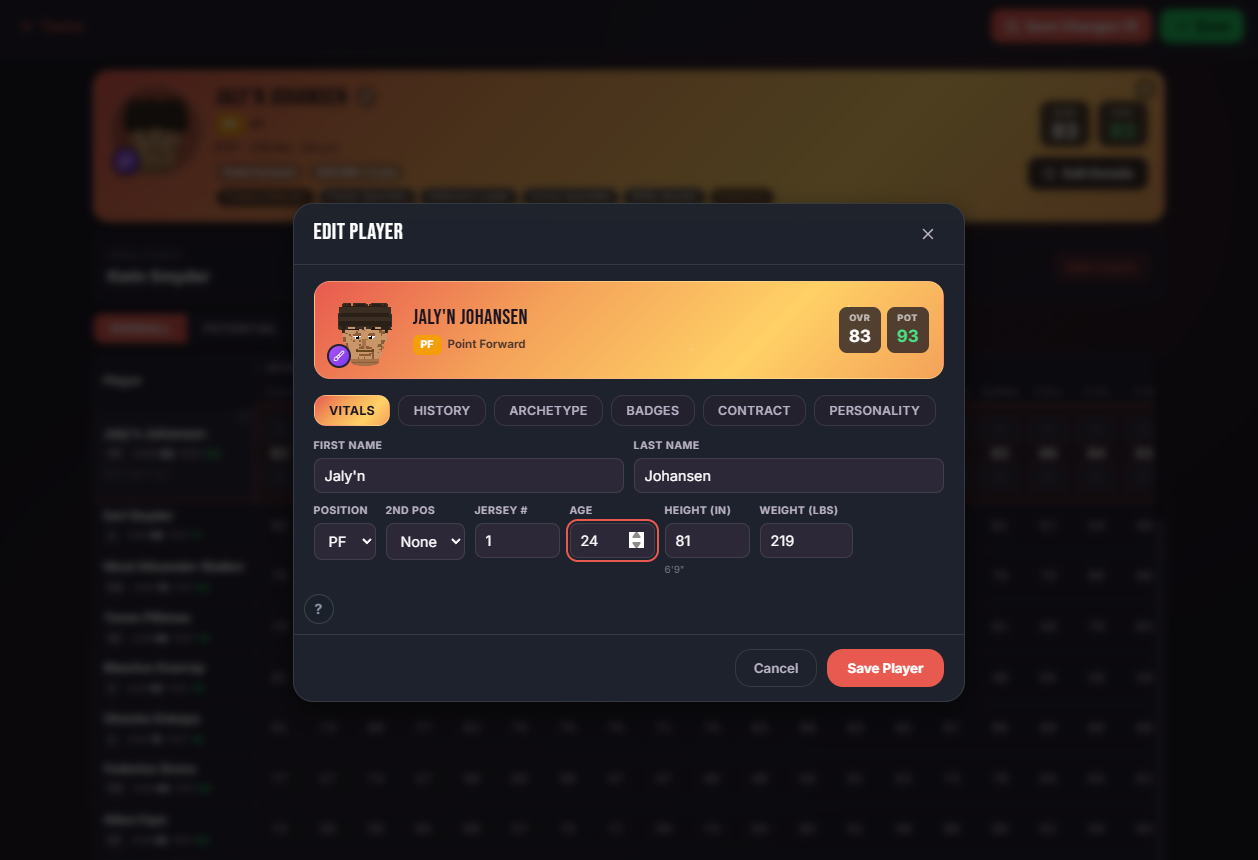
When a player row is selected, click on the ‘Edit Details’ button in the header (or simply click the selected player row again) to access the rest of the player’s editable details — if you own the Headshot Editor you can also adjust the player headshot:
From the popup, each tab contains editable aspects of the player. Optionally, you can quickly regenerate the player’s base attribute from a specified archetype.